With the old fence down and the posts set by the fence company, I was ready to go to work on the rest. With more than 20 sections to build, it was going to take a few days, but the process was straightforward and I settled into a comfortable rhythm.
This stage was pretty simple actually. The trick was locating the first rail, either up top, level with an adjacent fence section, or down low a certain distance from the ground (and level). There are a bunch of ways to do this, including using a laser level, but I mostly used a normal level set on a board on the ground and my eyes. With one rail set, the rest was easy.
To attach the rails, I used two kinds of standard brackets from Home Depot, and then I just screwed the corrugated panels to them. The wood is all pressure treated. The posts are 5x5s (actually about 4-1/4 in. sq.), and the crosspieces are 2x4s.
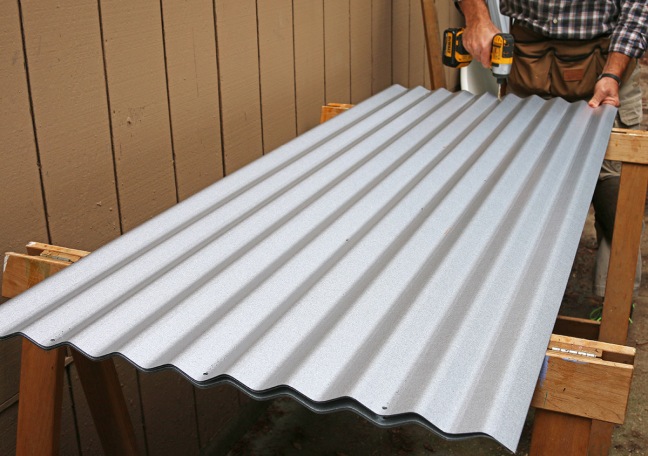
I got the corrugated, galvanized steel panels at my local metal roofing and siding supplier. Super nice people, happy to deal with homeowners or whomever. The panels come just over 2-ft. wide so you can overlap tham by one bump and still get 2 ft. of coverage with each one. The metal company will cut them to any length you need. Be aware that the panels are about 10 lbs. each, so 80 of them were a big load for my light pickup truck! You can also pay to have them delivered. That’s what I did for the 80 2x4s I needed from the home center.
So here’s how I handled stage 2. In the next and final stage, I’ll notch some additional rails to cover the edges of the panels and the rows of screws, for a clean final look.
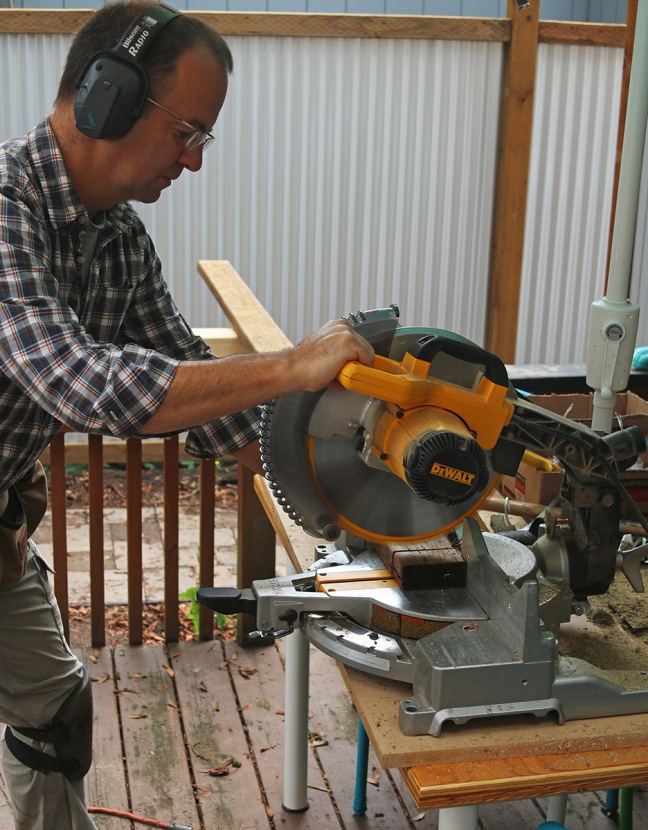
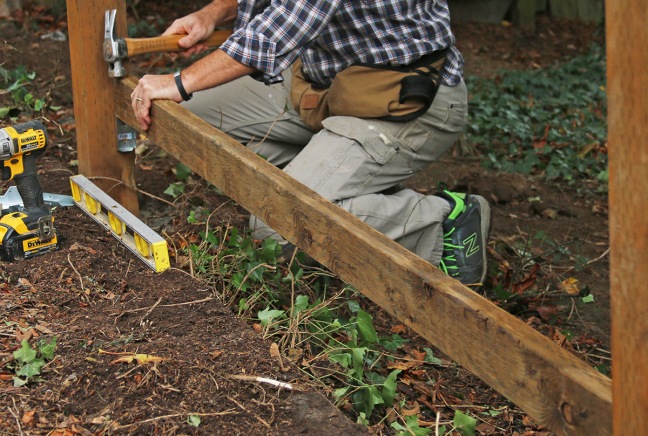
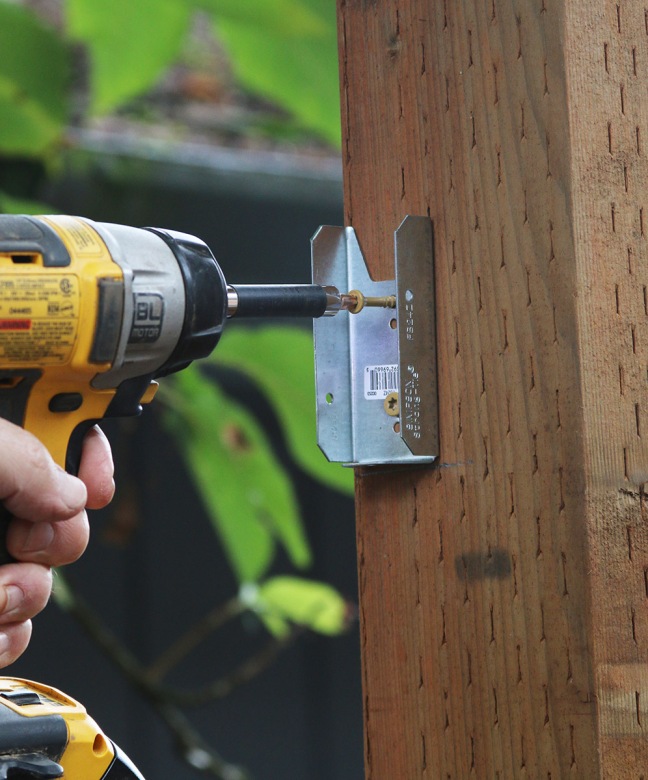
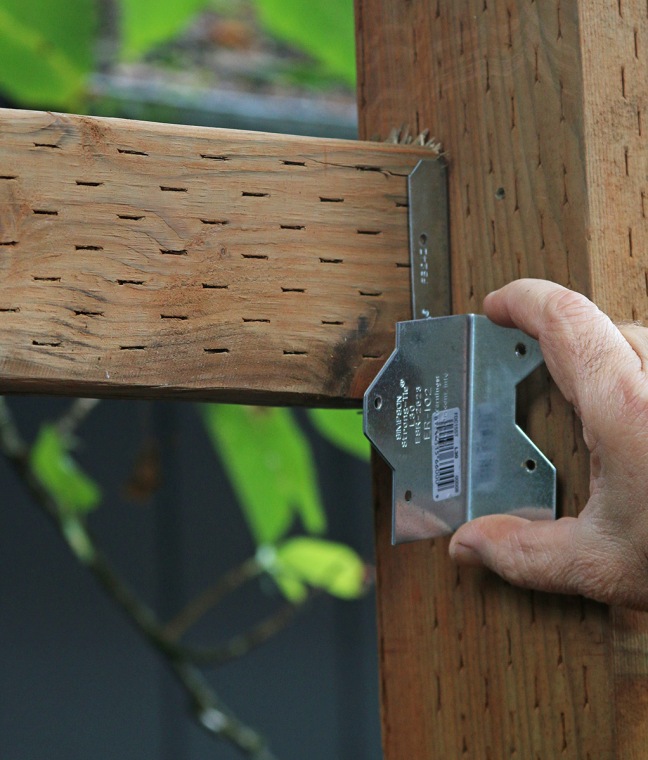
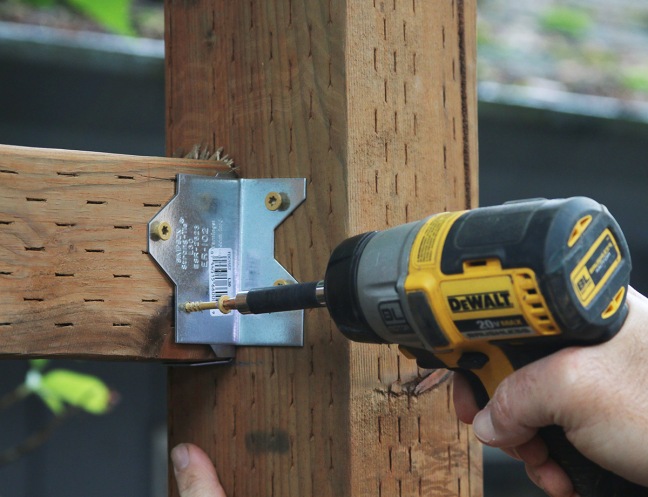
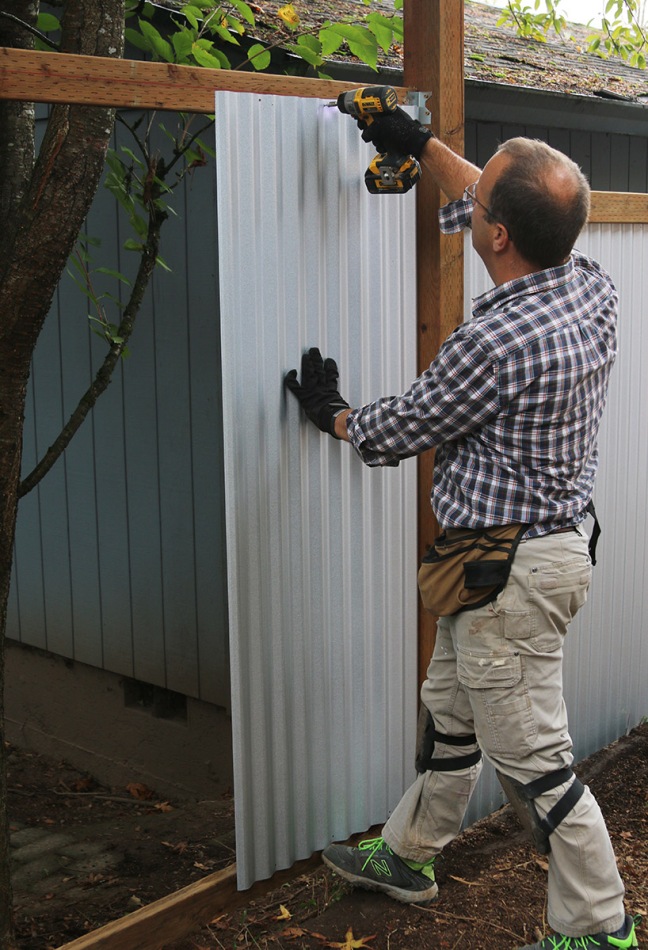
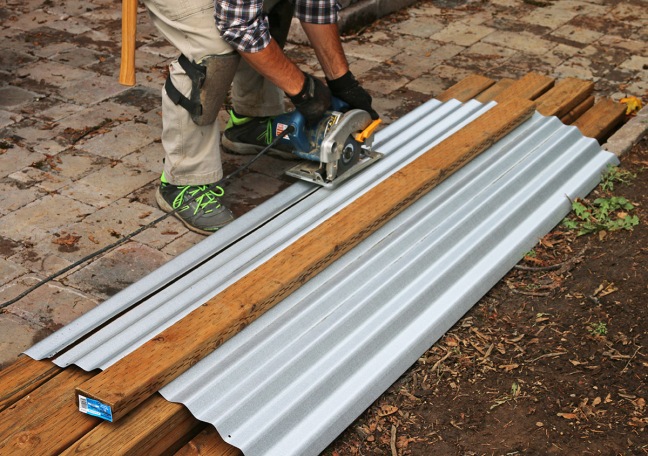
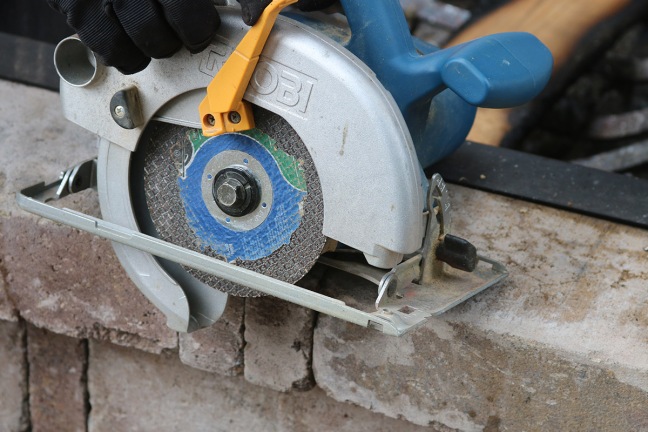
Setting the location of the first rail is pretty critical. Sometimes I started with the bottom one, in this case setting it a certain distance above a railroad tie at the border of my yard. Other times I started with the top rail, eyeballing the top of a nearby section to make level marks on the posts and set the top brackets. The brackets by the way, are standard fence rail brackets available at hardware stores and home centers. You can attach them with special nails, but I went with deck screws for extra strength.Once I was sure the two brackets were level with each other, usually by just setting a level nearby and eyeballing it, I measured the distance between them.Here I am cutting the first rail to that distance I measured, cutting it just a bit short to allow for the heads of the screws that stick out inside the brackets.I used a big hammer to convince some of the rails to drop in. I like a snug fit!Then I drove a screw into the back of each bracket, but not the front. You’ll see why shortly.All of the corrugated panels are cut to the same length (I went with 5 ft. 9 in.) so I needed my rails to be the right distance apart (about 5 ft. 5 in.). To guarantee that spacing, I just cut a 2×4 to that length and used it to mark the upper bracket locations (or the lower ones if I started with the top rail).The top brackets went on my pencil marks. By the way, I set all of these first rails even with the back of the posts, so there would be a nice step (called a reveal) between the front of he rails and the front of the posts.Insurance! One of my smartest moves was using this additional angle bracket at the front of each rail-post junction. I just didn’t trust those little fence-rail brackets. I’ve seen a lot of rails pull right out of those, in my old fence and many others.More deck screws. They stick out a lot, but they are affordable and super-strong.The next move is to snap a chalk line halfway up the top rail, to locate the top of the fence panels. I used a screw to locate the end of the line.Here is a cool thing about the panels. You can stack 4 or 5 of them and drill them all at once for the attachment screws.I just used my toe to jack up the panel to the chalk line, and them drove special screws that the metal company sold me. That said, deck screws would have worked too. It was quick to drive screws into the holes at top and bottom of the panel.The next panel just fits over the last ridge on the first. Line up the ridges so they look good, line up the top edge with the chalk line, and drive screws. Takes only a minute per panel at this point so you feel very productive!Because the fence guys were so careful with the distances between the posts, I didn’t often have to make a custom cut on the last panel, but it’s not really hard to do. I threw the panel on a pile of 2x4s with one on top to keep it stable, loaded an abrasive cutoff wheel in my circ saw, and just followed a chalk line I had snapped on the metal. Be sure to wear ear and eye protection–real goggles not just your glasses.Abrasive cutoff wheels are cheap and fit right onto your circ saw.The last panel goes up and the section is done! Progress feels good! You might need to drill different holes on the last panels, depending on the overlap with the previous ones, or you can just spin the screws against the metal until they make their own holes.


One thought on “Modern fence, pt. 2: Rails, panels, repeat”